How to create an instant established garden
Gardening is so rewarding but waiting for plants to grow can test anyone's patience!
Maybe your property is a blank canvas from a new build?
Or you would like to create a garden around your home but don't want to wait years for trees or hedges to grow? Think about how magnificent a tree lined driveway looks but it could take 20years for new plants to grow to full effect.
That's why mature trees are so brilliant, they can add instant impact and structure to your garden.
Of course, the more mature the tree, the more expensive it will be to purchase. So if you're landscaping budget doesn't allow for a long row of mature trees then why not look at strategically placing one or two large trees to give the appearance of well established garden.
Here are our tips for creating that “instant establish garden” look at your home:
Choose a focal point in the garden to plant the mature tree/s:
Plant two mature trees either side of your driveway entrance.
In a circular driveway, plant a large tree in centre of the turning circle with smaller plants or ground cover around the base.
Plant a mature ornamental tree at the front of your house, such as a Thornless Honey Locust, Pistacia Chinensis or Flowering cherry tree.
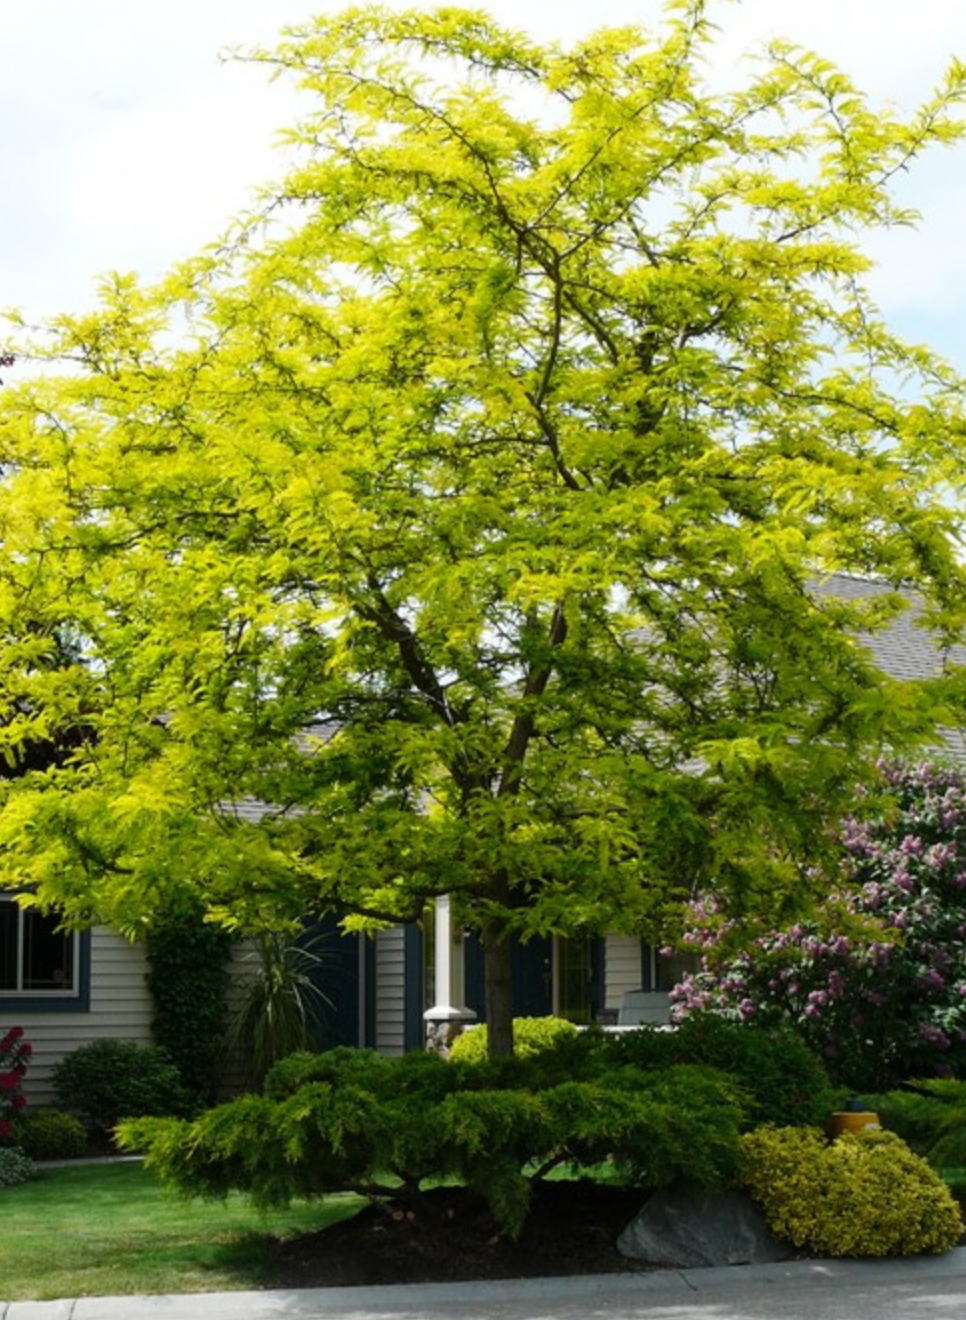
Thornless Honey Locust - Gleditsia Triacanthos f.inermis
Image Via: http://okanaganxeriscape.org/db/plant/280

Pistacia Chinensis
Image Via: https://en.wikipedia.org/wiki/Pistacia_chinensis#/media/File:Pistacia_chinensis.jpg

Flowering cherry - Prunus shimidsu sakura
Image Via: https://easybigtrees.co.nz/product/prunus-serrulata-shimidsu-sakura/prunus-shimidsu-sakura-oamaru/
2. Instant screening
Choose a fast growing hedge to act as a fence or to block out neighbours, sheds or the road.
Intersperse larger trees every few metres between the hedging to give instant height and width while the hedges are growing. Below are some beautiful hedge varieties.
The auger attachment on The Little Digger makes fast work in digging holes, perfect for plants and hedges.

Indian Bead Tree - Melia Azedarach looks fantastic with hedges grown underneath.
Image via: http://dursley-garden.blogspot.com/2013/11/paeonies-and-roses-at-dursley-garden.html

Indian Bead Tree follage during winter
Image via: https://en.wikipedia.org/wiki/Melia_azedarach#/media/File:Melia_azedarach-Clapiers-1486~2012_12_09.JPG

NZ Native Tree - Houpara pseudopanax lessonii
Image via: https://takana.co.nz/portfolio-item/horopito-pseudowintera-colorata/

NZ Native Shrub/Hedge - Pittosporum crassifolium karo
Image Via: http://aboutgardendesign.com/plant-guide/item/pittosporum-crassifolium
3. Free to a good home
Keep an eye out for friends, family or on local “Buy Swap Sell” facebook groups for people wanting to remove trees from their garden. They may be putting in a pool or building an extension and have mature trees which need to be removed. Usually the tree is free or very inexpensive if you come and dig it out and remove it yourself. The Little Digger Company can help you with the removal, transporting and digging in.

Persimmon
Image Via: https://domesticgoddessnz.files.wordpress.com/2012/05/100_3193.jpg
4. Choose colour
There is nothing more spectacular than the vibrancy of autumn trees. The reds and oranges give and instant lift to your garden.
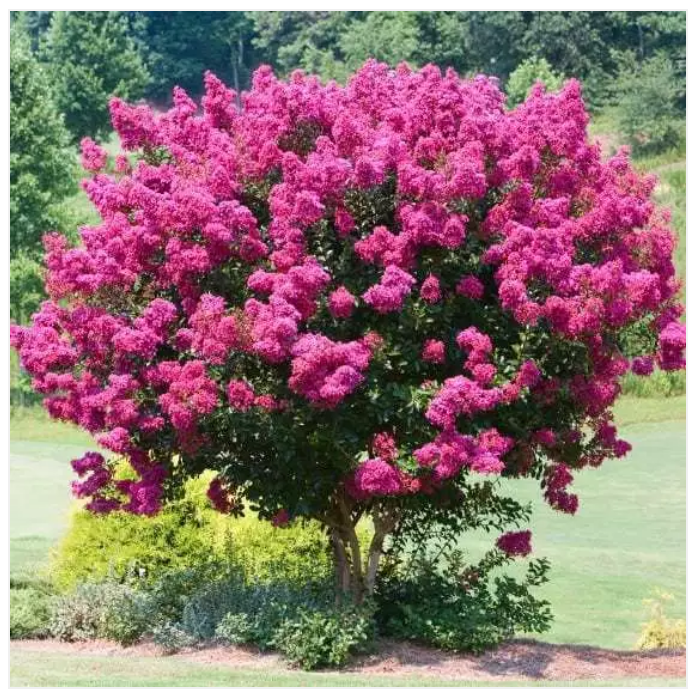
The beautiful Crepe Myrtle - Lagerstroemia indica Bergerac is a stunning flowering tree which come in a few different colours.
Image Via: https://leafland.co.nz/trees/lagerstroemia-indica-bergerac-crepe-myrtle/

Purple Japanese Maple - Acer pal. atropurpureum. This beautiful shade tree has purple foliage which turn scarlet during Autumn. It makes a fantastic statement piece in a garden, often planted near the front of the house as an ornamental feature.
Image Via: https://leafland.co.nz/trees/acer-pal-atropurpureum-purple-japanese-maple/

Swamp Cypress - Taxodium distichum
Image via: https://www.stuff.co.nz/life-style/homed/garden/93734294/why-are-aucklands-autumn-leaves-so-colourful-this-year
5. Take care
It's very important to take care when planting or transplanting a mature tree. Giving the tree the best start will ensure your expensive investment wont go to waste. Here are our top tips:
Make sure you dig a large enough hole to accommodate the entire root ball. The Little Digger can dig out a large hole for you, even help lift the tree into place and replace the soil.
Create a dish or moat around the base of the tree roots so that sufficient water reaches the roots at all time.
Look at adding organic rich soil and make sure that the dirt you are back filling is not hard, stopping the roots are not inhibited.
If the trunk of the tree is quite thin compared to the canopy, you may need to stake the tree and tie with a hessian binding to keep it straight and stop the tree bending and possibly snapping in heavy weather.
Water the tree regularly, especially in the first six weeks to make sure the roots establish themselves.
Add Mulch to the base of the tree, this will protect against frost in the winter and help keep moisture to the roots in warmer weather.
Our team spend their time helping create beautiful gardens and outdoor spaces. Get in contact if you'd like help with your garden design, plant selection, maintenance or construction.
Remember, put down the shovel and save your back... that's what The Little Digger Company are here for. With our Little Digger, Tip Truck, Bobcat and mulch-making Wood Chipper, we can help you from start to finish with your outdoor projects. So give us a call today!